
Arlington Heights Epoxy Flooring has been installing basement floor epoxy in homes across Arlington Heights, IL for more than 20 years, serving surrounding cities including Prospect Heights, Deerfield, Barrington, Lake Zurich and Wood Dale. Basements are where floor coatings fail most often, and almost always for the same reason: water and vapor coming up through the slab. Our method starts with that question and only then turns to color and finish.
Basements are common here. A U.S. Department of Energy study of Cook County assessor records found that 82.6 percent of single-family homes countywide had a basement of some kind, many still unfinished. That makes the basement one of the largest unused floors in most houses, and a coated slab is often the first step to a playroom, workshop, home gym or simply a dry, bright storage space.
Every basement job we do includes a moisture test written into the proposal as its own line, mechanical grinding with dust extraction rather than acid etching, and a plain statement of what the coating can and cannot do. The proposal names each product, the system build and the finished thickness, so you can check the result against the quote.
Why Basement Slabs Carry Moisture
Glacial Till and a Spring Water Table
Much of the ground around Arlington Heights is dense glacial till with slow drainage. In the poorly drained Ashkum soils, the seasonal water table can stand within about a foot of the surface between January and May, and in Beecher soils a perched water table sits between half a foot and two feet down in the same months. A basement slab sits right in that zone, so vapor pressure under it can climb sharply every spring.
Older Slabs Without a Vapor Retarder
Many basement floors in older homes were poured directly on soil or gravel with no plastic sheet beneath them. Newer construction often uses an under-slab vapor retarder meeting ASTM E1745, which slows vapor considerably. Without one, moisture moves freely into the concrete and can push a coating off from beneath even when the surface looks dry.
Testing Before Choosing a System
We measure moisture rather than estimate it. ASTM F2170 relative humidity probes set into drilled holes read conditions inside the slab, ASTM F1869 calcium chloride kits measure the vapor emission rate at the surface, and an ASTM D4263 plastic sheet test gives a quick visual screen. The readings decide which primer and coating system the basement needs.
Water You Can See on a Basement Floor
Efflorescence and White Deposits
White, powdery deposits on a basement floor are efflorescence, salts carried up through the concrete by moving water and left behind when it evaporates. They are a clear sign that moisture is active in the slab. We grind them off, test the area and plan the primer around that moisture, because coating over efflorescence leaves salts that can push the coating away.
Hydrostatic Pressure and Seeping Cracks
When the water table rises against a basement, it can push water up through cracks, the joint between floor and wall, and around plumbing penetrations. That hydrostatic pressure is strong enough to lift any coating. If a crack or cove joint seeps, the water problem has to be solved with drainage or crack injection before the floor is coated, and we say so plainly.
Floor Drains, Sump Pits and Sewer Backups
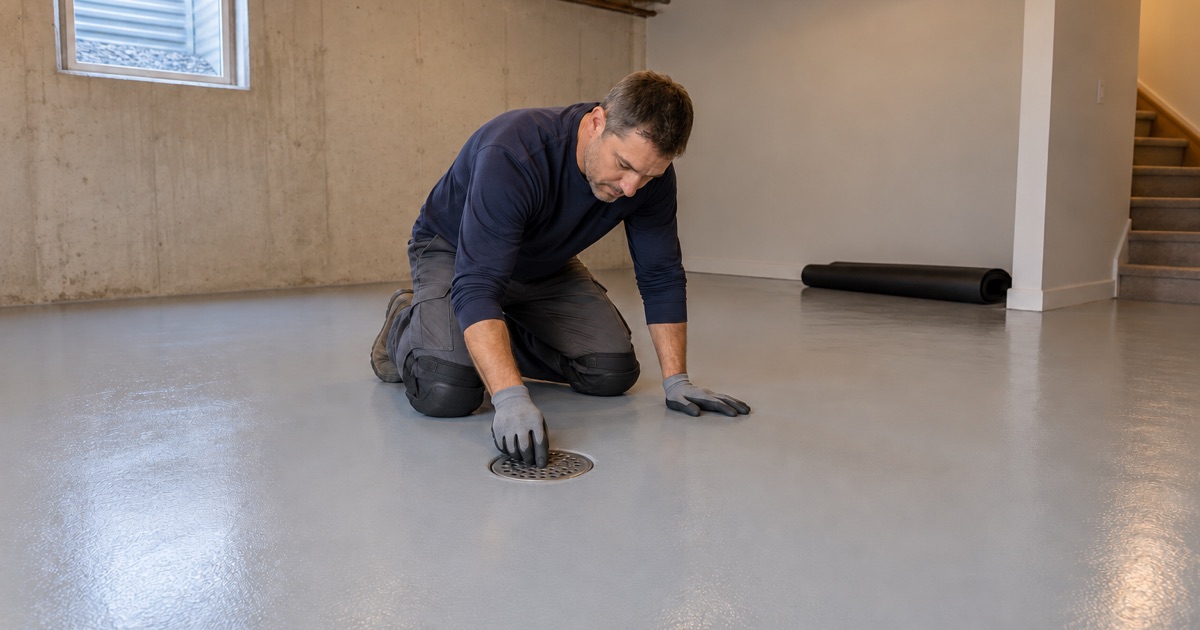
Floor drains and sump pits need careful detailing so the coating slopes into them and the sump lid still fits. Where a basement has had a sewer backup, the slab must be cleaned, disinfected and fully dried before coating, and if an overhead sewer or backflow valve is planned, we schedule the floor after that work so the new coating is not cut later.
Choosing a Basement Floor System
Mitigation Primer, Epoxy and Flake
The most common basement system we install starts with a primer matched to the moisture readings, often a dedicated moisture-mitigation epoxy, followed by a 100% solids epoxy base coat with a vinyl flake broadcast and a clear polyaspartic or polyurea topcoat. The flake hides dust and slab blemishes, adds texture underfoot and gives a finished look without tile or carpet.
Textured Floors for Gyms, Laundry and Workshops
Where water, sweat or spilled detergent are likely, a quartz aggregate broadcast or a fine grit in the topcoat adds grip without making the floor hard to clean. Home gyms benefit from a tough topcoat that resists rolling equipment, and rubber mats can sit right on top in lifting areas. Workshops get a light solid color that makes small parts easy to find.
When Epoxy Is Not the Right Answer
Some basement slabs carry more moisture than any epoxy system can manage reliably. In those cases we may recommend urethane cement, which tolerates higher slab moisture, or a polished concrete floor, which has no film for vapor to push off. Occasionally the honest answer is to fix drainage first and coat later, and we will tell you if that is where your basement stands.
Basement Details That Decide How a Floor Lasts
Edges, Walls and Stairs
The perimeter is where basement coatings most often start to lift. We grind tight to the foundation walls, can carry the coating a few inches up the wall as a cove for easier cleaning, and finish around support posts, water heaters and furnace pads neatly. Stair treads and landings can be coated with a textured finish for safer footing.
Radon Pipes and Mitigation Systems
A floor coating is not radon mitigation. In Illinois, reducing radon for pay requires a license from IEMA, and the U.S. EPA notes that sealing a slab alone has not been shown to reduce radon reliably. If you have or plan a mitigation system, we coat around the suction pipe and seal ring without disturbing it, after the licensed mitigator has finished.
What a Coating Will Not Fix
A basement coating is a film that follows the slab. It will not close a moving crack, stop a slab from heaving, lower the water table or stop a leaking foundation wall. We look for those problems before quoting and tell you when a slab needs repair, drainage or structural work first, rather than selling a floor that cannot succeed.
Our Step-by-Step Basement Floor Epoxy Process
Step 1: Inspection and Moisture Testing
We look at the slab, the walls, the drains and any history of water, and set moisture tests. The written proposal follows, with the system, each product, the finished thickness and the warranty exclusions, moisture named first, plus the written contract and consumer-rights pamphlet Illinois requires for home repair work.
Step 2: Grinding and Repairs
The slab is diamond ground wall to wall with dust extraction, paint and adhesives are removed, and cracks, pits and the floor-to-wall joint are repaired. Drains and sump edges are prepared for clean transitions.
Step 3: Primer, Base and Broadcast
With slab temperature and dew point checked, the primer chosen for your moisture readings goes down, followed by the base coat and any flake or quartz broadcast. Each coat waits on the readings at the slab rather than the clock, since a cool basement floor in early spring can sit close to the dew point.
Step 4: Topcoat, Cure and Ventilation
The clear topcoat is applied and the space is ventilated during cure. We tell you when foot traffic, furniture and storage can return, and leave care instructions for the finished floor.
- 20+ Years Coating Concrete
- Moisture Tested Before Quoting
- Itemized Written Proposals